
Technical SEO

How to Set Up Google Tag Manager on Your Website

Create a Tag Manager account and web container, install the official snippet, add your Analytics and ads tags, then preview and publish a version.

FindSEO5 min read

A row of ordinary metal keys hanging from labelled hooks on a plain indoor wall, each hook assigned to a different key.

Photo: Ranjithsiji / Wikimedia Commons (CC BY-SA 3.0)

In this article
  1. How do you create an account and container?
  2. How do you install the web container?
  3. How do you add tags and publish?
  4. Who should own the container, and how do you keep it tidy?
  5. A Google Tag Manager setup checklist
  6. The bottom line

To set up Google Tag Manager, create an account for the business, create a web container for the website, and install the container snippet Google shows you. Open tagmanager.google.com, click Create Account, enter the account and container details, then choose Web. Install the snippet on every page, add the tags you need — often Google Analytics 4 and Google Ads conversions — then Preview and publish a version.

Tag Manager is a container that lets you add and change measurement tags without editing the website code every time. It does not replace Analytics or Google Ads. It is the place you install those tags once the container is on the site.

This guide follows Google's current help pages for creating an account and installing a web container.

How do you create an account and container?

Google's account and container guide sets out the steps:

  1. Go to tagmanager.google.com and sign in with a Google account.
  2. Open the Accounts tab and click Create Account.
  3. Enter an account name and the country for the account. The account is the top level for the company. Optionally, you can share anonymous data with Google for benchmarking; Google says it removes identifiable information and reports only aggregate trends.
  4. In Container Setup, enter a container name. For a website, Google says the name should be the top-most URL, such as www.example.com, and that you do not need a container for each page.
  5. Select the container type: Web for a website or web app. Other types exist for iOS, Android, AMP and server-side Tag Manager.
  6. Click Create and agree to the Terms of Service.

If the company has more than one website or app, go back to Accounts and create another container beside the account, rather than mixing two sites in one container.

Keep the account under a business-owned Google account. Add colleagues later with the right access, instead of sharing a password. That is the same habit you should use in Search Console and Analytics.

How do you install the web container?

Google's install a web container guide is the official sequence:

  1. Open the container you just created.
  2. In the Workspace tab, click Install Tag Manager in the welcome card, or click the container ID that starts with GTM.
  3. If the site is built in a website builder or CMS (WordPress, Shopify, Wix and others), choose Select your platform and follow the integration so you do not have to edit every page by hand.
  4. To install it yourself, click Install Manually. Copy the snippet Google shows and paste it as high in the head of every page as possible. Use the exact snippet from your container, not an example from another site.
  5. Use the Test option in the dialog, with your website URL, to check the install, then click OK.

Google now shows a single Google tag snippet for new web containers. If the site already uses the older two-part snippet (a script in the head and a noscript iframe in the body), Google says you do not need to retag the site; the container will continue to work.

Do not paste the Google Analytics snippet as well as a Tag Manager tag for the same property, and do not put two containers on the same pages. One install method is enough.
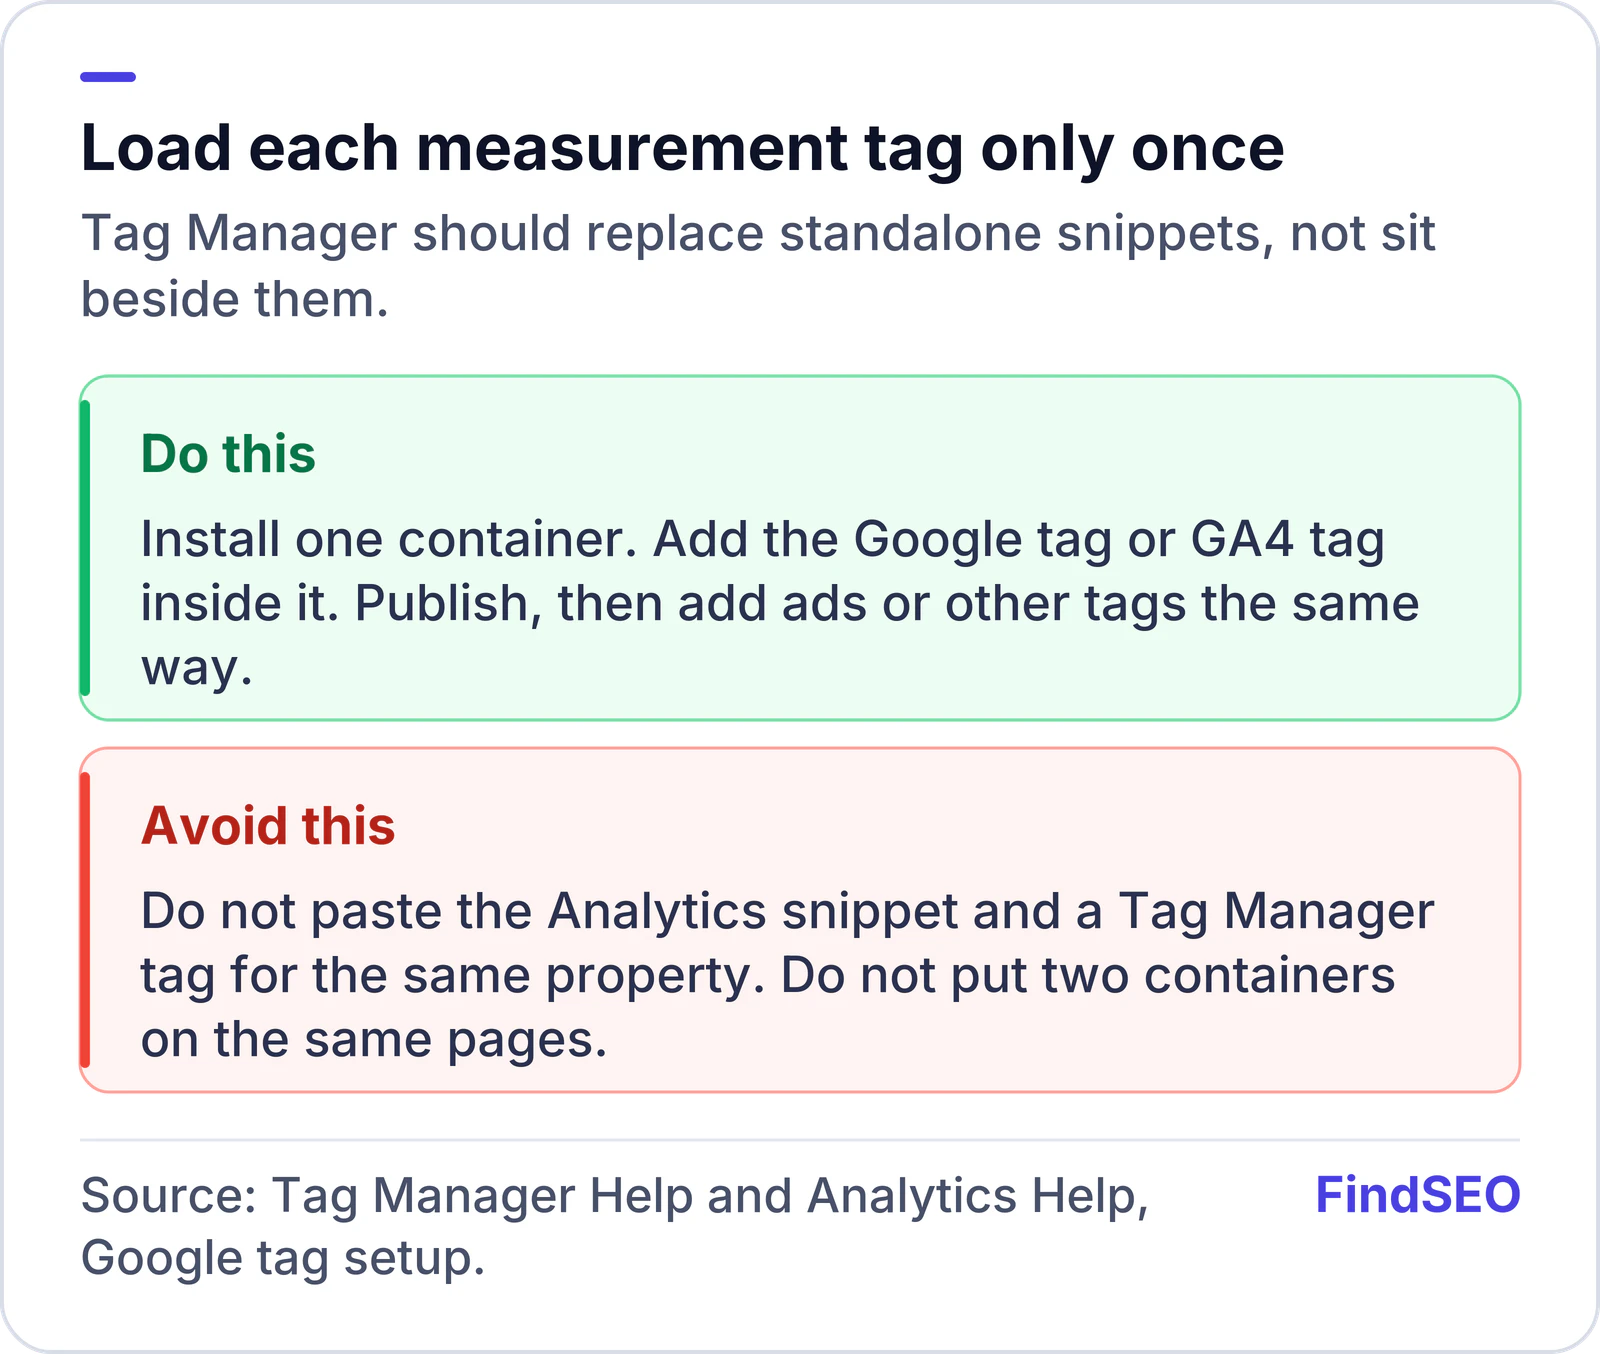
Tag Manager should replace standalone snippets: install one container and add the Google tag or Analytics tag inside it. Do not also paste the Analytics snippet, and do not put two containers on the same pages.
One container, one install method. Extra snippets will double-count visits and conversions.
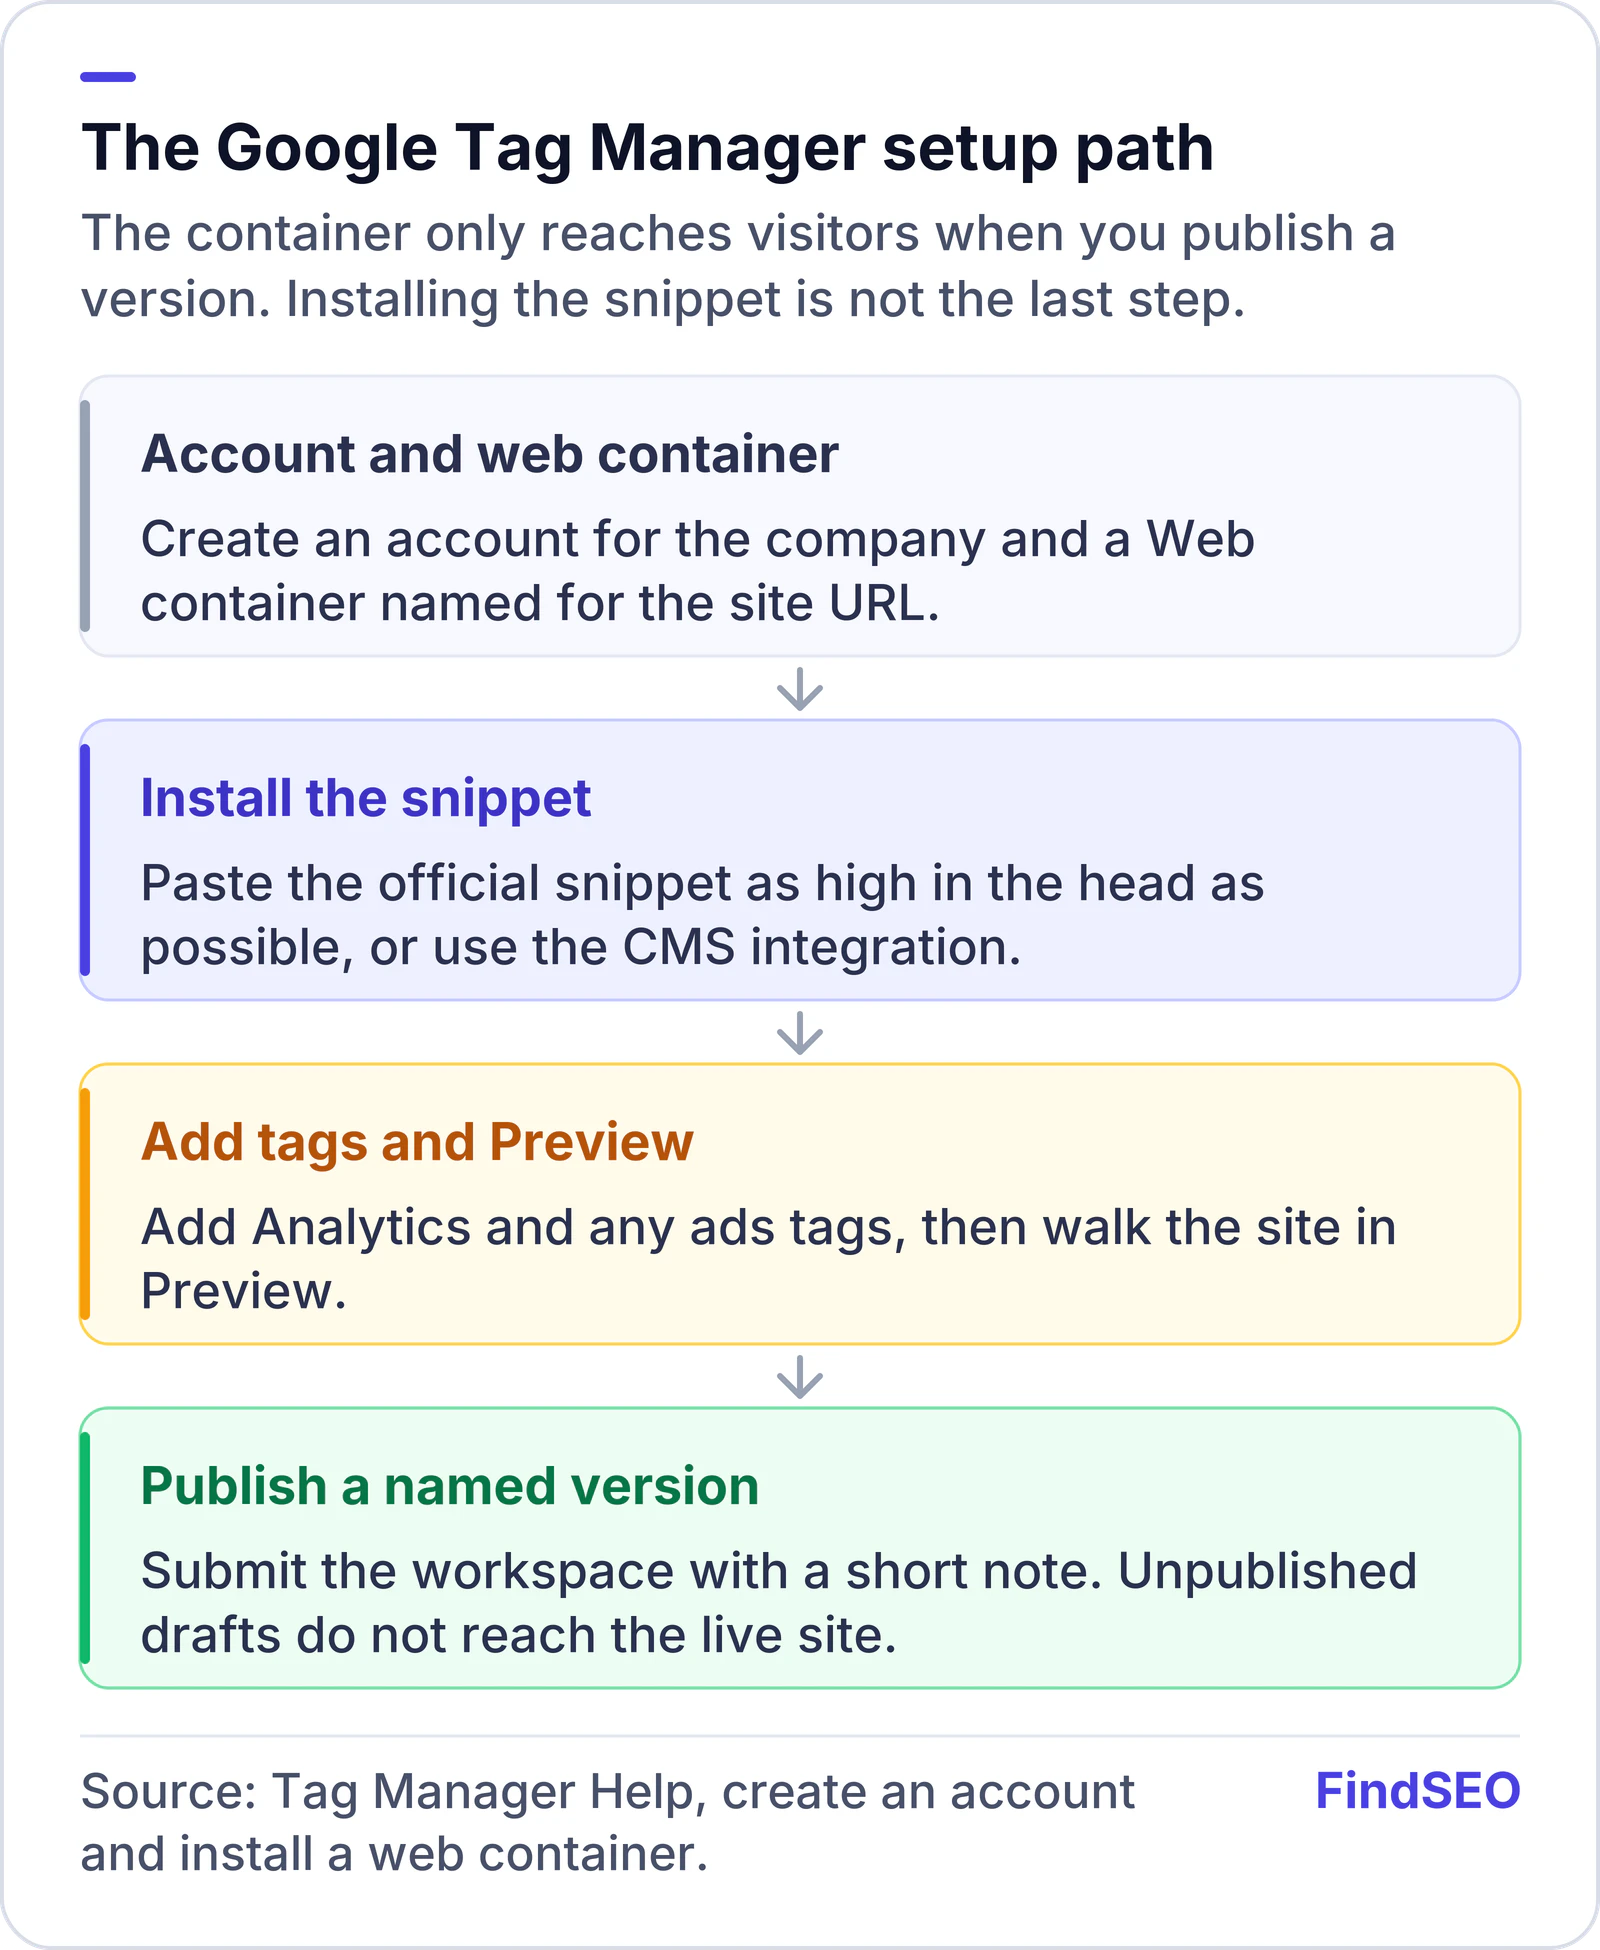
Google Tag Manager setup flow: create a business account, create a web container, install the official snippet or CMS integration on every page, add tags such as Analytics or Ads conversions, then Preview and publish a container version.
The container only goes live when you publish a version. Installing the snippet is not the last step.

How do you add tags and publish?

Installing the snippet only loads an empty container until you add tags and publish.

  1. In the workspace, create a tag for each tool you need. A typical first tag is the Google tag or GA4 Configuration tag that uses your Analytics Measurement ID. If you run ads, add conversion tags as described in the Google Ads conversion guide, rather than pasting a second snippet into the site.
  2. Set a trigger so the tag fires on All Pages, or on a more specific event if that is all you need.
  3. Click Preview to open Tag Assistant and walk through the site. Confirm each tag fires on the right pages and does not fire twice.
  4. When the preview looks right, Submit and publish a named version, with a short note about what changed. Unpublished workspace drafts do not reach visitors.

You can also use the container to verify a Search Console URL-prefix property, if the Tag Manager snippet is already on the homepage and you can access the container, as described in the Search Console verification steps.

A worn brown leather suitcase on a white background, stamped with the initials E.M.S. and a blank paper tag tied to the handle.
A container holds the tags, just as a case holds labelled items. Preview each tag before you publish. Photo: Unknown author, CC BY 4.0, via Wikimedia Commons.

Who should own the container, and how do you keep it tidy?

Treat the container like any other official account. Google's introduction to Tag Manager and the Tag Manager developer overview are a useful orientation once the snippet is in place: tags, triggers and variables live in a workspace, and a published version is what the website actually loads.

Give an agency or a freelancer access at container level rather than handing over the business Google account. Keep at least one Administrator who uses a company email. When someone leaves, remove their access and review the last published versions, so you know what is still firing.

Name versions clearly ("Add GA4 configuration", "Add contact-form conversion") so you can revert. If a release goes wrong, publishing a previous version is faster than editing templates. Avoid leaving unused tags paused for months; pause or delete them once you have confirmed they are not needed, and do another Preview pass afterwards.

The container is also a sensible home for any later measurement work, including the conversion events you will add when you set conversion tracking in Google Ads. Resist the urge to add every marketing pixel on day one. Get Analytics firing cleanly, publish, then add the next tag.

If the Test step in the install dialog fails, the usual causes are a snippet that only exists on some templates, a tag manager blocked by a content-security policy, or a cached HTML page that does not yet include the new head code. View the live page source and search for your GTM container ID before you start adding tags. If the ID is missing on the homepage or on checkout templates, fix the install first.

A Google Tag Manager setup checklist

  • The account is under a business-owned Google account, with a web container named for the site URL.
  • The official snippet, or the CMS integration, is on every page, as high in the head as possible.
  • You did not also paste a standalone Analytics or Ads snippet for the same tags.
  • The GA4 (or Google) tag fires on All Pages in Preview.
  • A named version has been published; the workspace is not still sitting as an unpublished draft.
  • Colleagues have their own Tag Manager access, at the lowest role they need.
  • Changes go through Preview, then Submit, rather than straight to production.

The bottom line

Tag Manager is the official way to load measurement tags from one container. Create the account and web container, install the snippet Google gives you, add Analytics and any ads tags once, then Preview and publish. After that, most tracking changes should happen in Tag Manager, not in the website templates. If you want this wired into reporting and SEO measurement, compare technical SEO services or get matched with an agency. Deciding how ads and organic search work together is covered in SEO or Google Ads: which first.

FAQs

Do I need Google Tag Manager if I already have a Google Analytics tag?

Not necessarily. You can install the Google Analytics tag directly. Tag Manager is useful when you want to manage Analytics, ads and other tags in one place without editing the site each time. If you move Analytics into Tag Manager, remove the standalone Analytics snippet so visits are not counted twice.

Where do I paste the Tag Manager snippet?

Google's install guide says to paste the snippet as high in the head of every page as possible, or to use the official integration for your CMS or website builder. Use the exact snippet from your container. If the site already has the older two-part snippet, Google says you do not need to retag it.

Why don't my new tags show on the live site?

A tag in the workspace does not reach visitors until you publish a container version. Use Preview to test, then Submit and publish. If you only saved a draft, the live site is still running the last published version.

Should I use one container for every website?

No. Google says the account is the top level for the company, and that you should create a container for each website or app. The container name for a website should be the top-most URL.

Can Tag Manager verify a site in Search Console?

Yes, for a URL-prefix property, if the Tag Manager snippet is already on the homepage and you can access that Tag Manager account. Search Console's verification guide lists this as one of the methods.

Sources

Ready for help with SEO?

Compare SEO-only agencies near you, with client reviews checked by a person, or tell us what you need and get matched.

Technical SEO

How to Create a robots.txt File for Your Website

Write a UTF-8 robots.txt file at your site root, add User-agent rules and a Sitemap line, then upload and test it. A practical checklist is included.

FindSEO5 min read