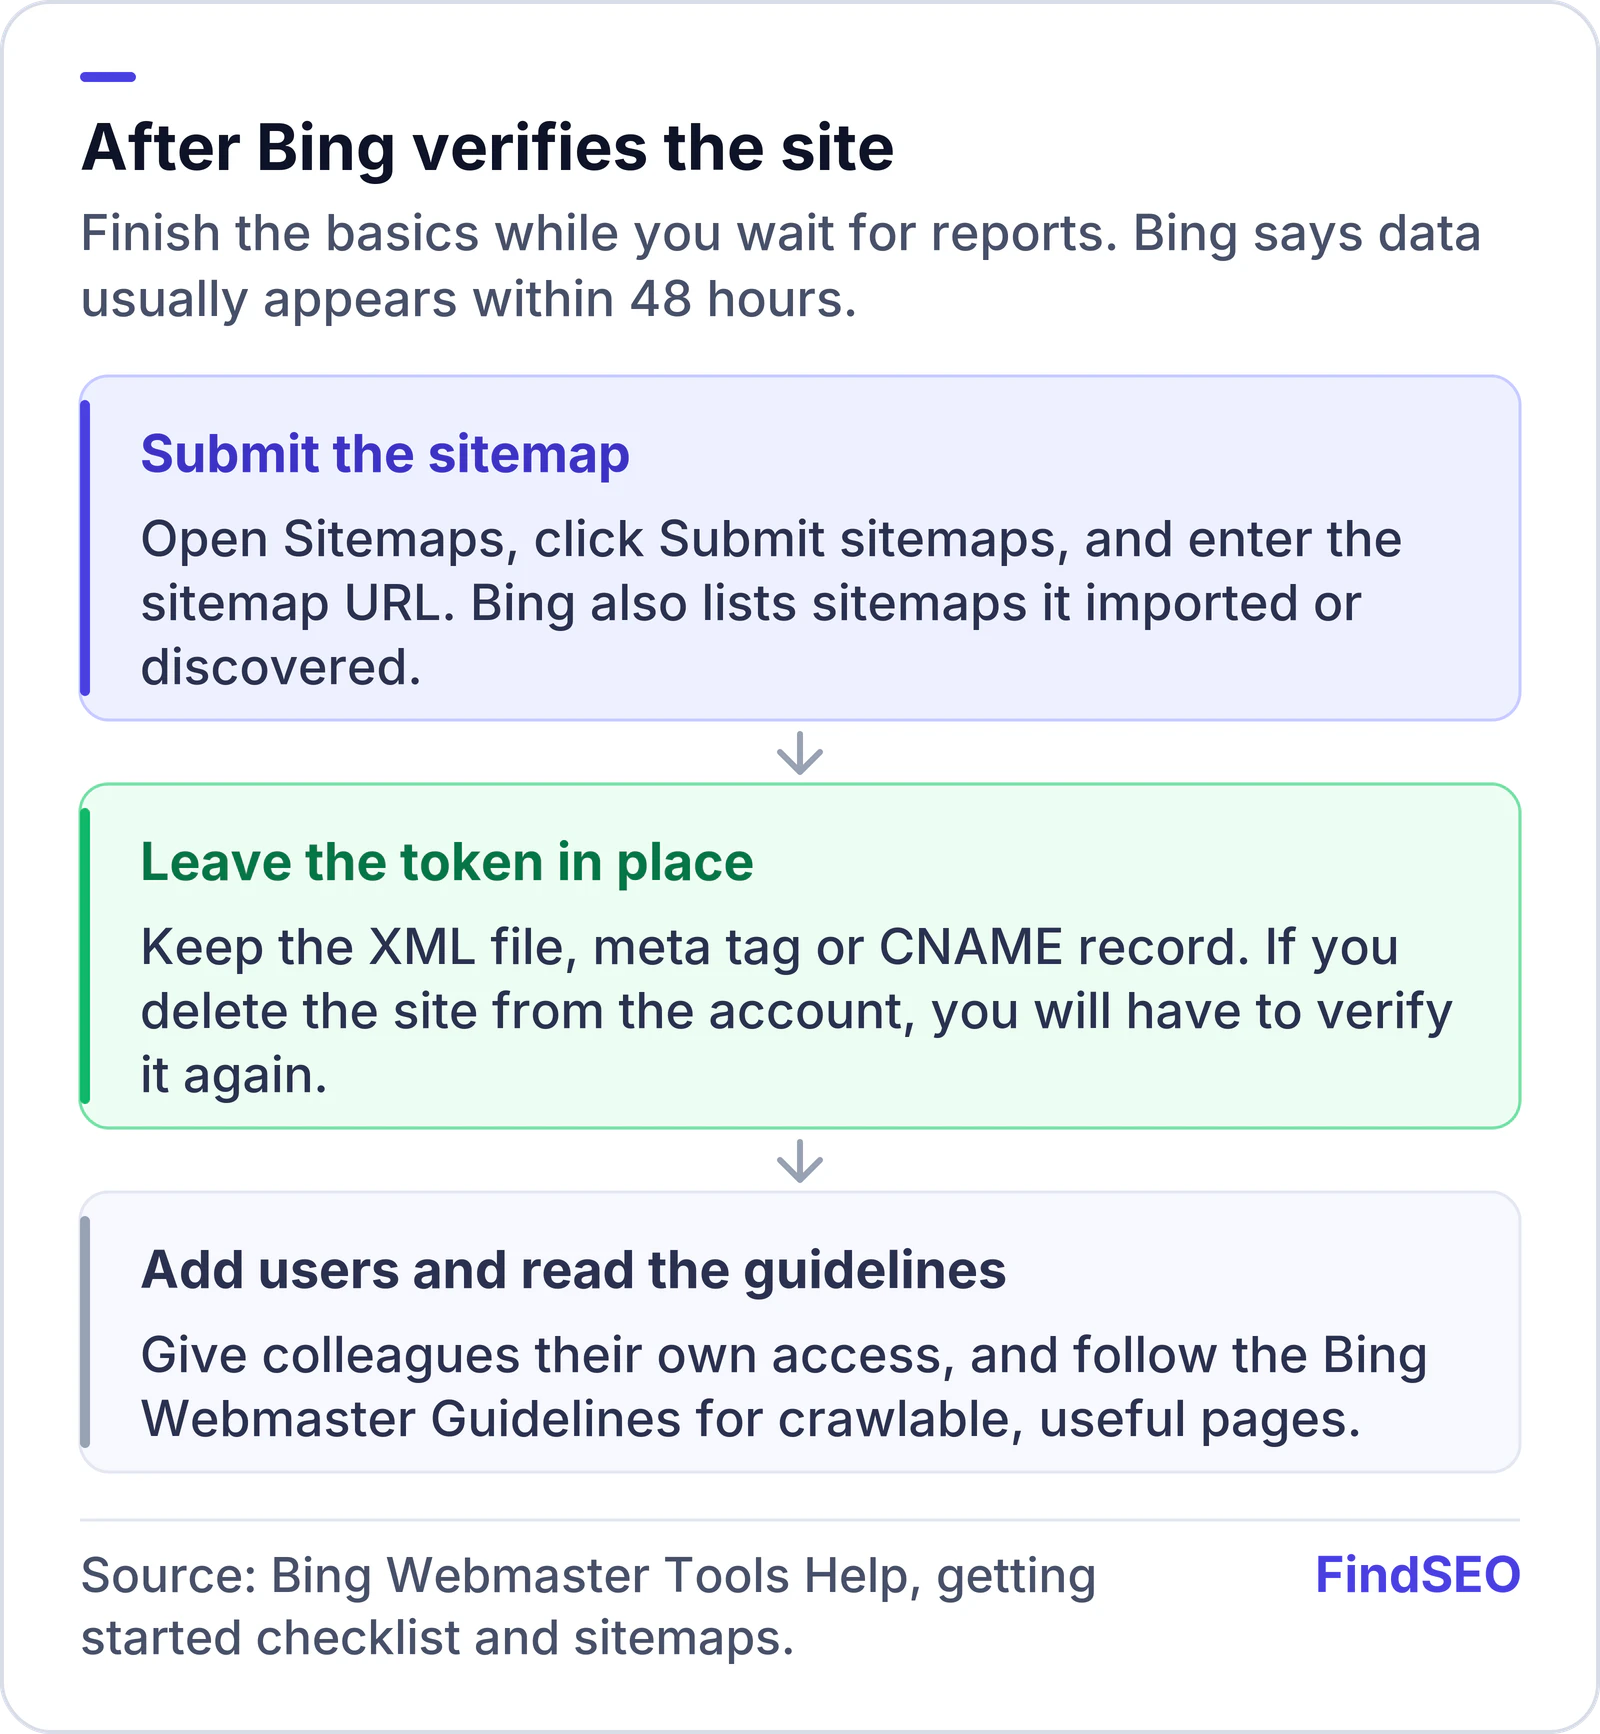
To set up Bing Webmaster Tools, sign in at Bing Webmaster Tools, add your site, and verify that you own it. The fastest path, if the site is already verified in Google Search Console, is to import that property. Otherwise add the URL yourself and verify with Domain Connect, a BingSiteAuth.xml file at the site root, a meta tag, or a DNS CNAME record. After verification, submit your XML sitemap and wait for data to appear.
Bing is a smaller source of organic traffic than Google for most Australian businesses, but it is still a real search engine, and Webmaster Tools is the official way to see how Bing crawls and indexes your site. Setup is straightforward, especially if Search Console is already done.
This guide follows Bing's own help pages for adding a site, verifying ownership and submitting sitemaps.
How do you add a site?
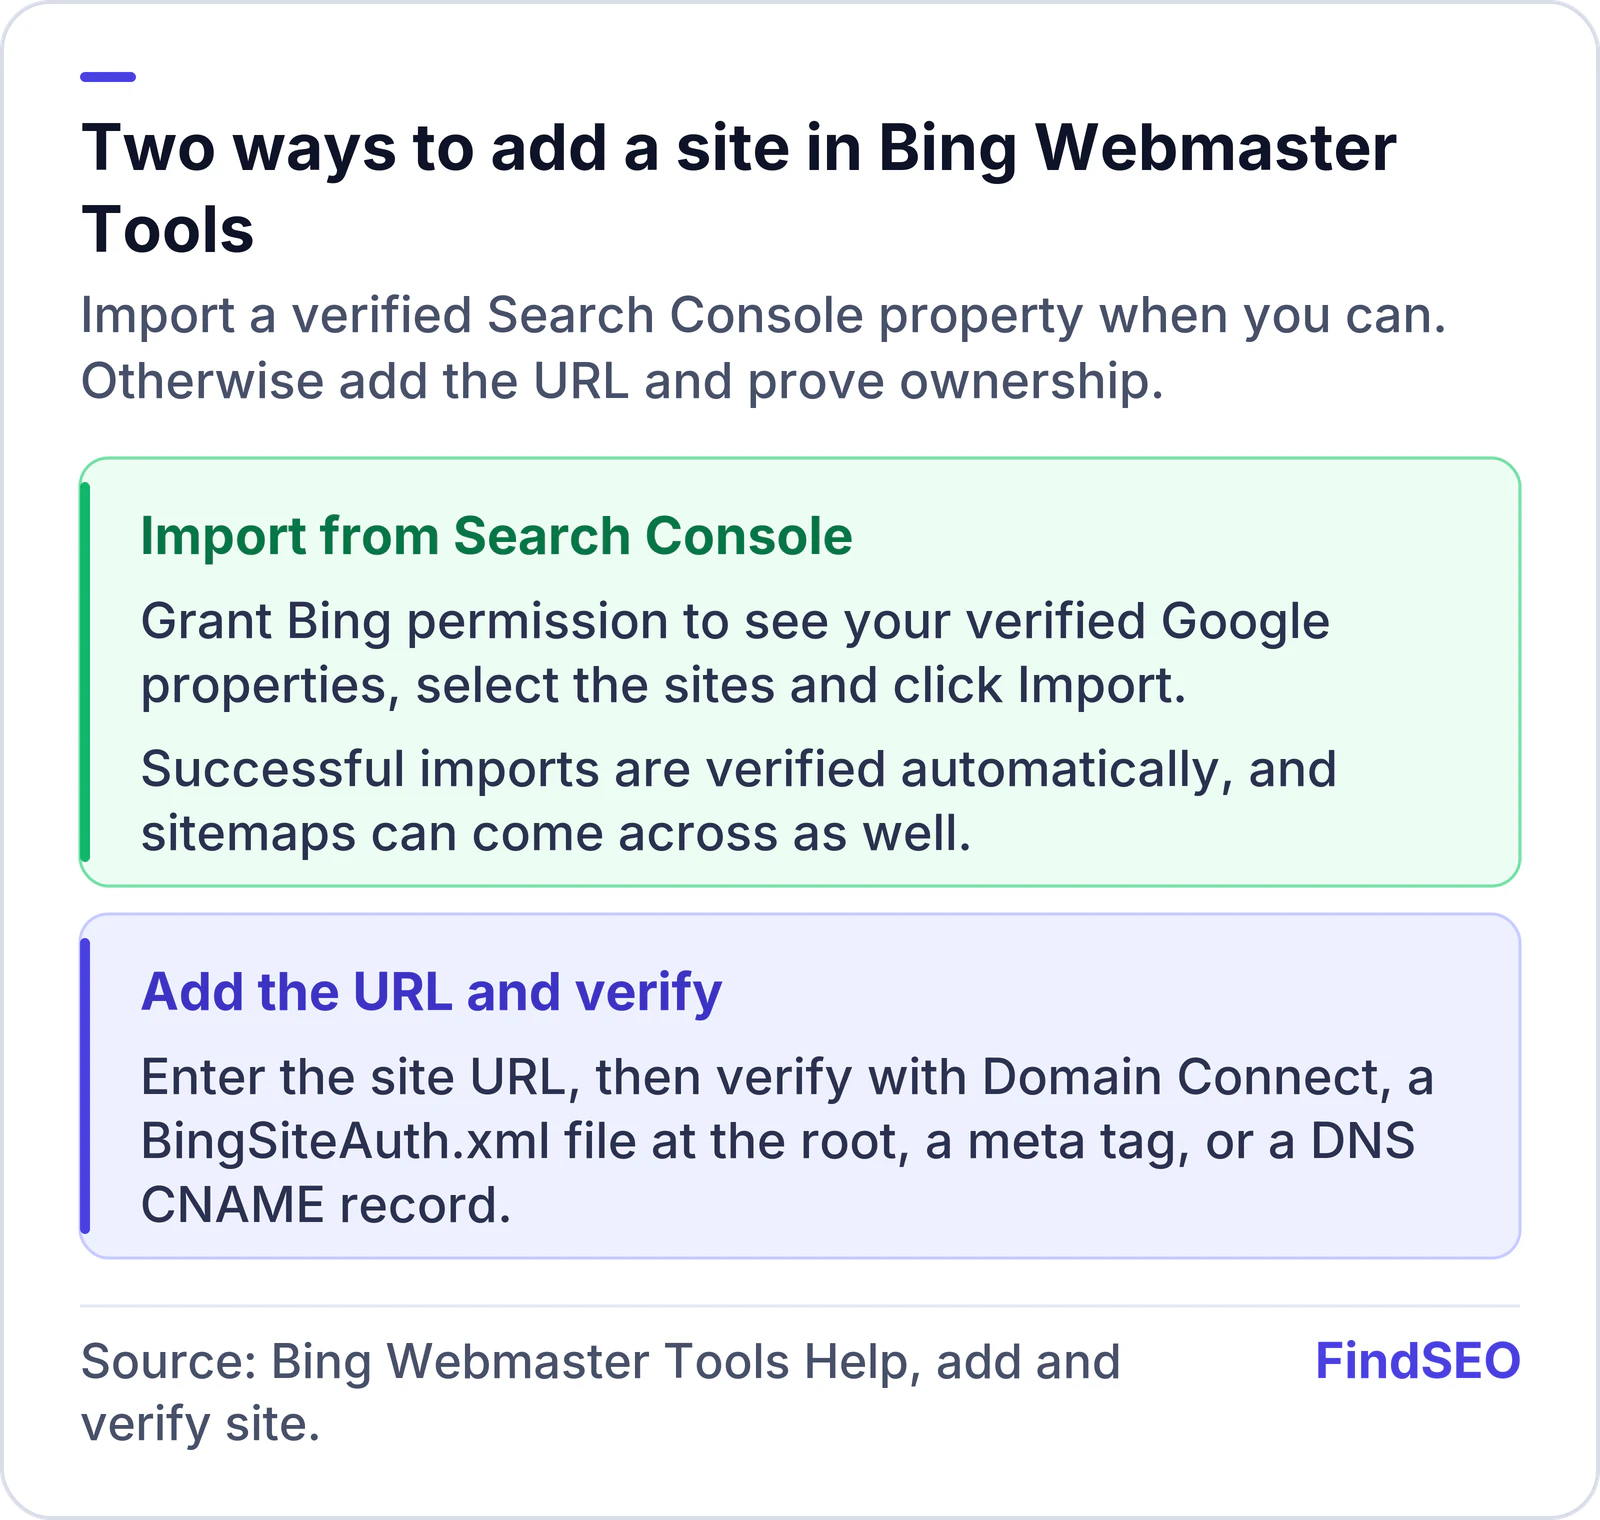
Open Bing Webmaster Tools and sign in with a Microsoft account. Bing's add-and-verify guide describes two ways to add a property:
- Import from Google Search Console. Grant Bing permission to see your verified Search Console sites. Bing will list those properties, including their sitemaps and your role on each site. Select the sites you want and click Import. Successful imports are added and verified automatically. You can import up to 100 sites at a time, and a Webmaster Tools account can hold up to 1,000 sites. Bing notes that the list may be shorter than your Search Console list if a site is already in Bing, or if URLs have been grouped.
- Add the site manually. Enter the site URL and click add. You can add an entire domain, such as example.com, or a single branch, such as example.com/clothing/.
Existing users add a site from the dropdown in the left-hand navigation and then follow the same steps.
If you import from Search Console, Bing will also periodically re-check ownership through that connection and can import new sitemaps it finds there. You can see linked Search Console accounts under Profile, and disconnect them if you want the link to stop.
How do you verify ownership?
If you added the site manually, you still need to prove ownership. Bing lists four methods in the same help page. Choose the one that matches how you manage the site, then follow the on-screen instructions.
- DNS auto verification (Domain Connect). Where your DNS provider supports Domain Connect and has partnered with Bing, Webmaster Tools can detect the provider and add the CNAME for you after you sign in to DNS. Bing says verification can complete in a few seconds, though it may take longer for the provider to send the signal. If the provider does not support Domain Connect, this option is hidden and you will see the other three methods.
- XML file. Download
BingSiteAuth.xmland upload it to the root directory of the registered site, so it is publicly reachable. - Meta tag. Copy the tag Bing shows you and paste it at the end of the homepage
headsection, then publish the page. - CNAME record. In your DNS host, add the CNAME record with the verification code Bing provides. Once DNS publishes the record, Bing can verify the site.
When verification succeeds, Bing shows a green checkmark and a message that the domain has been added. A red cross means you should read the error, fix it and try again. If you delete a site from the account, you will have to verify it again to add it back.